
So you’ve bought a bus or you’re thinking about buying a bus and you want to build your skoolie layout. Good choice! A well thought-out layout is critical when building the right skoolie for you. As Benjamin Franklin once said, “If you fail to plan, you are planning to fail”. Here are 5 tips to consider when building your school bus conversion layout.
1.) Determine Your Priorities
The first and most important step is to determine your priorities. It’s worth noting, a skoolie is considered a tiny home which means…there will need to be some compromises here and there. To fit the standard size living room, kitchen, bathroom, laundry room, and bedroom in a skoolie is a nearly impossible task. For this reason, it is important that you determine two priorities in your layout and work from there. For instance, some people desire extensive counterspace for prepping meals and a full-size bedroom while others desire the ability to fit a full-size tub in their bathroom and entertain many guests. Some of you readers may need to account for additional sleeping space like bunk beds. There are no right or wrong priorities; it is all up to you.

2.) Account for the Wheel wells
If you’re lucky enough that your bus does not include wheel wells, congratulations! If your bus does include wheel wells, fear not! Wheel wells can easily be managed with the right layout.
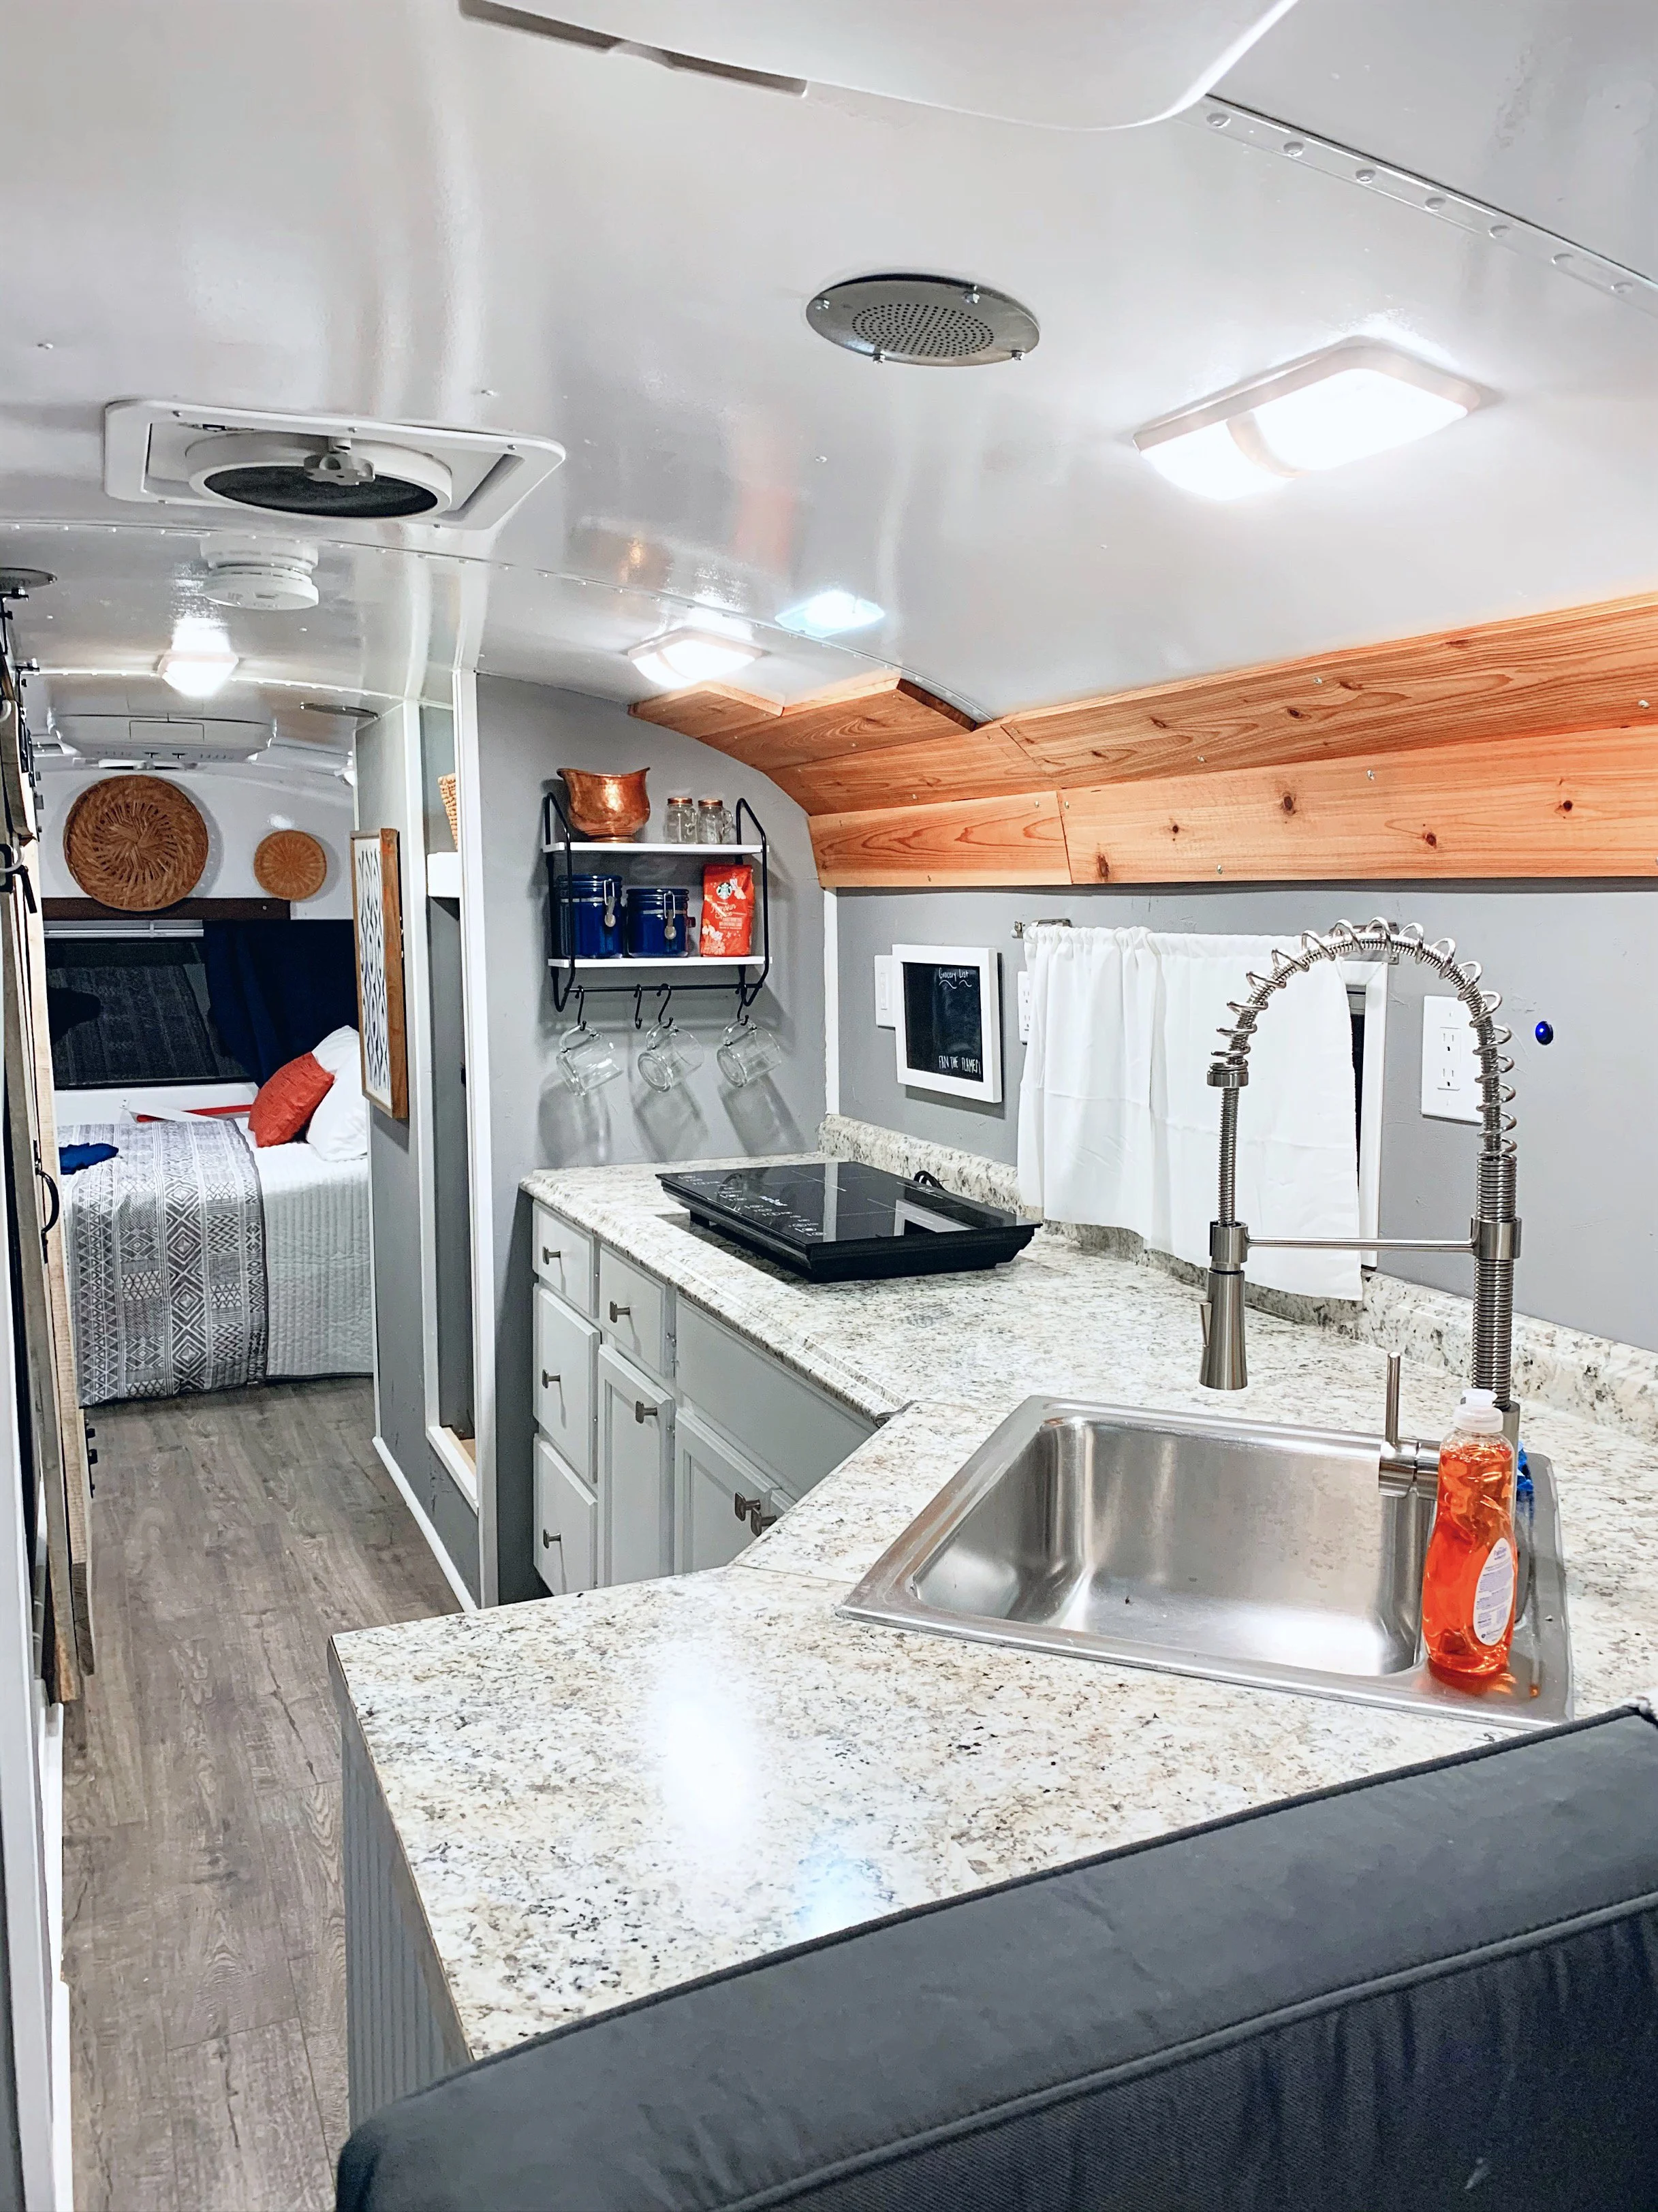
It’s important to note, if your bus does include wheel wells, we strongly advise against removing them. The purpose of the wheel wells is to protect the inside from damage in the event of tire damage.
There a quite a few ways wheel wells can be built around. Firstly, there is the simple option of creating a box around the wheel well and creating a place for storage. If not, wheel wells can be hidden under couches or cabinets. They can also be used for a bench in the showering area, or a composting toilet can be set on top of it. Nothing should be built around the wheel well that requires gray water drainage. Lastly, a platform can be built on top of two corresponding wheel wells.
Another note: taller folks may have some difficulty moving around in the bus that has a platform built over the wheel wells.

3.) Create a 3D Layout
If possible, create or have someone else create a 3D model of your layout. This model should consider the dimensions of the bus as well as the thicknesses of walls. Be sure to include the dimensions of appliances you plan on using, as well. Your model should also provide you with some direction of what windows should be removed.
Although many people appreciate the natural light that the school bus windows offer, it can be frustrating to build walls around windows. We suggest removing any windows that are placed behind a wall for ease of building and for accessibility purposes. Windows that are left behind walls leave the possibility for leaks from weather and can be very difficult to get to once walls are in front of them.

4.) Tape It Out
If you’ve already completed the step above, this step is not a necessity, but it can be eye-opening and fun! To get an idea hallway space, countertop space, showering space, and other areas, we suggest taping out your layout in the bus. Although this may be less accurate than the 3D layout, you’ll be able to physically walkthrough the space. During this time it may be a good idea to mimic everyday life. Actions like walking through the taped out hallway, laying in the space designated for the bed, and standing in the allocated shower space can help you determine if the layout is right for you or if it should be changed.

5.) Leave Some Wiggle Room
There are likely to be things that were not included in the layout. Either you used different framing than you thought, you had to frame around random boxes like the fuel tank inlet, or things just didn’t line up as planned but chances are your layout won’t be exact. Try not to beat yourself up! Remember, bus life is all about adapting and overcoming. For this reason, though, we suggest leaving a little wiggle room in your layout, if possible.